- For comfort, it's the Brooks B67s saddle without a doubt. Especially since it's broken in now. It's so comfortable I hardly notice it.
- For handling, the Misfit FME handlebar is the ticket. It feels better balanced, but I lose some of the sit up riding position.
- For extra speed, the Specialized FatBoy 1.25" tires helps me ride faster with less effort compared to the original tires.
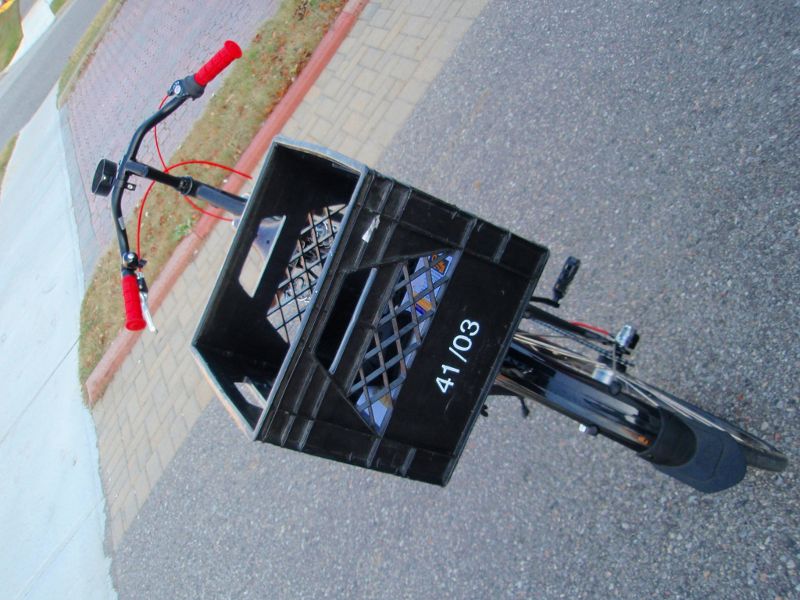
- For utility, the milk crate is hard to beat. It carries more than the front basket, and it can be removed/installed easily.
- The icing on the cake is the Kool Stop Thinline (salmon) brake pads. The improvement is awesome.
The best upgrade of all time is proper bike set-up. Once everything is dialed in, riding feels so much better. I had to ride often, and be self aware to know what needs adjusting/changing.


